If you move your winsxs folder to another drive, important/critical Windows Updates will fail with error code 80070011. Windows Update won’t work with junctioned files, it requires hardlinks to the actual location of the data. There was a workaround for this in Windows Vista, but stopped working as of SP1. You can still move the folder to save space, but won’t be able to run any more updates!
Here’s a handy article that explains the winsxs folder in detail, for those of you who just want to understand “why?!”
If you’re anything like me, you want to run the latest-greatest programs on the newest operating systems available — and the worst thing you can do is sit and stare at loading screens. Your time is too important!
One of the best ways get blazing-fast performance from your computer is to run your OS from an SSD hard drive. But, while they may be fast, let’s face it — they’re definitely not the biggest hard drives in the world. Because 500GB+ drives are so inexpensive nowadays, the latest-greatest programs and operating systems all seem to assume everybody has tons of extra space.
But what if you’re installing them onto an SSD hard drive? Do you really have 10GB to waste on a collection of restore points, previous updates, and cache files for 7 languages you don’t even speak?
While programs like CCleaner are very helpful, deleting cache and temporary files are only going to free up so much space. No, it’s time for drastic measures!
Today, I freed up over 15 GB of space on my SSD hard drive — without losing a single file.
Here’s how I did it!
The Investigation
This week, my Limited Edition copy of Crysis 2 arrived. It was a no-brainer which drive I wanted to install it on: my Corsair SSD. When I saw the system requirements, though — “at least 9 GB of free space” — I was a bit surprised to see I only had 3GB left!
“What the heck? Where did all my space go?!”
With the help of TreeSize Free, I was quickly able to identify where all my free space went (see the program in action here.)
The first culprit was a huge (52,000 files, 9 GB) folder named “winsxs” which sat in the Windows directory. Looking through it, I found a collection folders with scary names and locked permissions. The first thing I did was search for “delete winsxs” on Google — and found a ton of pages which almost unanimously told me to leave it alone.
“Come on, really?” I thought. “I’ve only been using Windows 7 for 3 months. What happens when the winsxs folder hits 20 GB? What do I do — uninstall the programs I need to run my business?”
The Solution
Eventually, I came upon a forum discussion which told me exactly how to remove it.
WARNING: Proceed at your own risk. Incorrectly performing the following procedure may cause irreversible damage to your OS. It is highly recommended to backup your system before proceeding.
Below is the procedure:
You will need two utilities: PendMoves and MoveFile. Place them in \Windows\System32 directory for easy access.
Procedure:
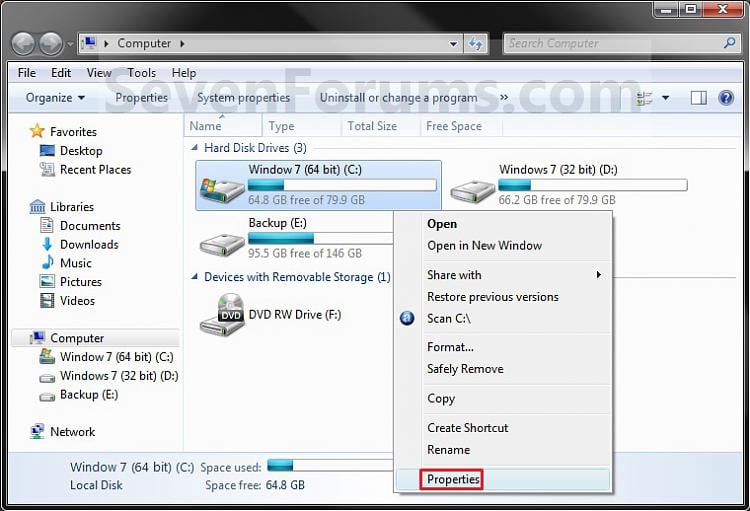
1. In Windows Explorer navigate to the \Windows\WinSXS directory. Right click the directory to bring up the quick menu and select Properties. Click the Security tab to view the security properties. You will need to assign the Administrator user account ownership of the directory and then grant the Administrators group Full Access.
2. Open an administrator command prompt, and create a dummy directory. Execute “mkdir c:\windows\winsxs.moved“
3. Next, create a junction (like a Symbolic link for Vista). Execute “mklink /J c:\windows\winsxs.link winsxs.moved“
4. Now delete the winsxs.moved directory. Execute “rmdir c:\windows\winsxs.moved“
5. Now we will use MoveFile to schedule renaming of the WinSXS directory at reboot. This is the magic that will give us control over the directory.
6. From the administrator command prompt, execute “movefile c:\windows\winsxs c:\windows\winsxs.moved“. As you can see, this is renaming the WinSxS directory before Vista can get a lock.
7. From the command prompt, run “movefile c:\windows\winsxs.link c:\windows\winsxs“. This puts a winsxs directory back (as far as Vista is concerned), so everything doesn’t collapse in a heap.
8. From the command prompt, run “pendmoves“. It will show the two pending moves you’ve entered above, with NO ERRORS. If it all looks good, REBOOT!
[Note from XDude: at this point, when I rebooted my machine, I was a bit discouraged by the resulting blue screen. After a bit of confusion, I entered a command prompt from Startup Repair and put everything back to the way it was before I started. I then repeated steps 1-8, being extra-careful this time. Success!]
9. On reboot the critical renames/moves will execute, and the WinSxS directory will be unlocked and able to be moved in the next steps.
10. Open an administrator command prompt, and execute “dir c:\windows\winsxs*“. If you performed the previous steps correctly, you’ll see a WinSxS.moved directory and the WinSxS junction. If it did not work, repeat the above steps. Our next step is to relocate the WinSXS directory and amend the junction.
11. Using Windows Explorer, COPY the entire WinSxS.moved directory to a \Windows directory on another partition or drive.
12. When the copy is finished, rename the new directory from WinSxS.moved to WinSxS.
13. Go to an administrator command prompt and execute “rmdir c:\windows\winsxs“.
14. Then, execute “mklink /J c:\windows\winsxs d:\windows\winsxs“.
15. To be sure everything is happy, in Windows Explorer browse to c:\windows\winsxs. You will see all of the files. (Even though they are actually on your other partition or drive)
16. Reboot
17. After reboot, you should be able to delete c:\windows\winsxs.moved and FINALLY liberate all that disk space. Whew! Now take a bow.
This process can also be applied to the Windows Updates directory. When you download Windows Updates etc., the files get placed into C:\Windows\SoftwareDistribution, and this will quickly become huge. It is easier though… stop the Automatic Update service, move directory, create junction, restart service, DONE!
The Permissions
As it turned out, step 17 was actually quite a bit more complicated than just clicking the folder and hitting “Delete.” Though I was able to copy the folder to a different drive without hassle, deleting them would be another exciting episode of setting file and folder permissions.
“Take Ownership” is a great way to set permissions for files, but the right-click option disappears once you have more than 15 files selected. There were over 10,000 folders in the winsxs folder — and there was no way in heck I was gonna do them 15 at a time!
I needed a recursive script that would go through every single folder and set permissions. I found it here! (Note: this script refers to a file which can be downloaded here.)
To get it to work, I typed the following from a command prompt:
takecontrolof c:\windows\winsxs.moved\*.*
After that, I was finally able to delete the folder.
Success! 9 GB freed — and no files were lost!
The Fun Continues!
“Well that was exciting! How much more space can I free up?”
TreeSize told me there was a ton of other stuff taking up space, such as AdobePatchFiles, SpeechAnalysisModels and a few LocalStore folders. Most of them would probably never get used — no sense keeping them all on my precious SSD drive! If I could move it all to one of my larger-capacity 7200 RPM drives, I wouldn’t have to worry about space and the performance would be “good enough” considering how often the files would be accessed.
Typing folders into a command prompt didn’t really do it for me, though — not to mention mklink doesn’t seem to work if there’s a space in the folder name, such as “Program Files (x86)”.
My salvation came from the wonderful Junction Link Magic!
A mere 10 minutes later, I had freed up an additional 6.5 GB of space.
Long live the Symbolic Link!

 OPTION ONE


